Mini staw doniczkowy
Trudność: Średnio zaawansowany
Ożyw swoją przestrzeń na świeżym powietrzu dzięki naszemu zabawnemu projektowi ministawu i donicy.
Rekomendowane produkty
Co będziesz potrzebował
- Deski strugane o wymiarach 1.8m x 0.3m
- 4.0 wkręty do drewna 50 mm
- Drewno na podstawę
- Papier ścierny 240g
- Impregnat do wilgoci
- Olej/lakier/farba
- Wypełniacz
Instrukcje krok po kroku
Krok 1
Przytnij dwie deski o długości 78 cm na boki donicy i wytnij trzy kawałki o długości 38 cm na końce donicy i przegrodę.


Krok 2
Zbuduj ramę zewnętrzną za pomocą wkrętów do drewna.
Wskazówka: zawsze przed wkręceniem należy wywiercić otwory prowadzące.
Krok 3
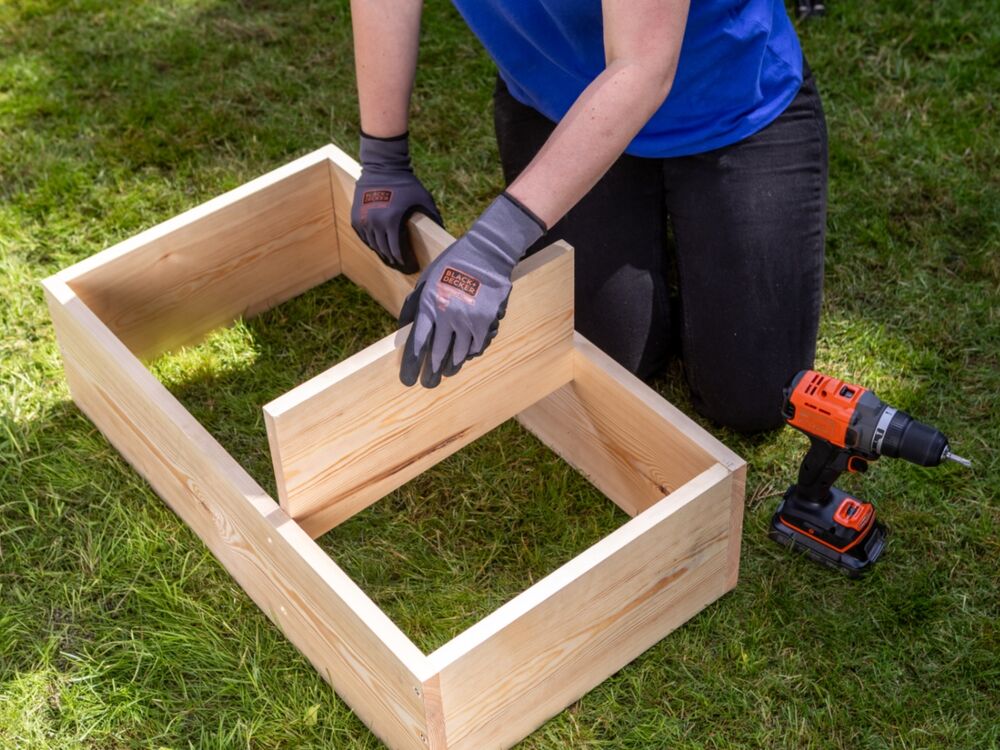
Wsuń przegrodę w ramę i przykręć.


Krok 4
Zmierz i przytnij drewniane deski na podstawę, odwróć je i przymocuj do ramy za pomocą wkrętów do drewna.
Wskazówka: wywierć otwory drenażowe w podstawie sekcji donicy za pomocą wiertła o średnicy 8 mm.
Krok 5
Przeszlifuj papierem o gramaturze 240 g.


Krok 6
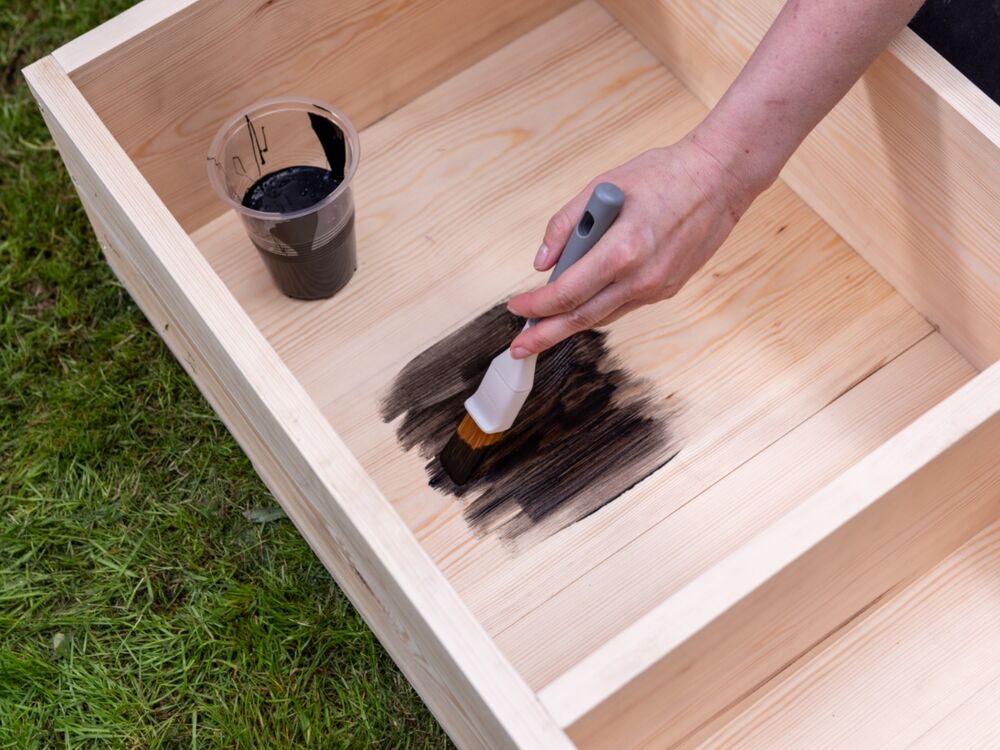
Pomaluj wnętrze każdej komory impregnatem przeciw wilgoci.
Krok 7
Pomaluj zewnętrzną część wybranym olejem/lakierem lub farbą.


Krok 8
Najpierw wypełnij donicę ziemią, a następnie roślinami.
Krok 9
Wypełnij bok stawu wodą, roślinami i ozdobami.


